
Frequently asked questions regarding the grow kit.
The ultimate goal is to fill the bucket completely with coffee grounds, right up to the brim. However, it's important to refill the bucket gradually, not all at once. The mold needs time to grow through the coffee grounds.
So, always add a layer of coffee grounds about three centimeters long as you see white mold growing through the existing layer. Mold needs oxygen to grow. A layer of coffee grounds that is too thick blocks oxygen from the underlying layer, causing the mold to grow more slowly or even die. This gives other molds more opportunity to infect the coffee grounds.
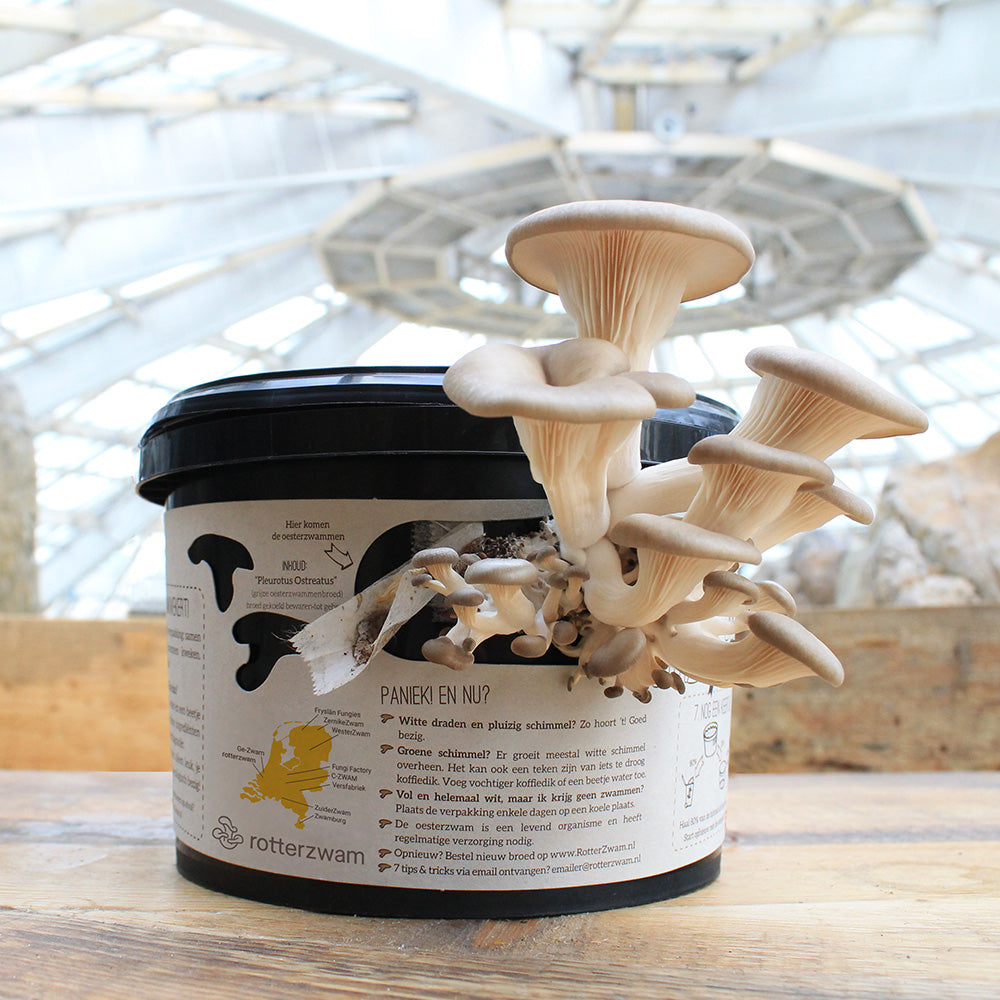
The holes in the grow kit are covered with breathable tape, which you can order by the roll . This tape keeps out annoying intruders and ensures sufficient humidity inside. The fungi are so strong that they will push the tape away and happily grow through the holes. This means the tape stays in place when fungi start to grow.
Once the grow kit is completely filled, it will take about 2 to 3 weeks for the first fungi to start growing. Want to speed up the growth process a bit? You can put the grow kit in the refrigerator for 24 hours. This will panic the fungus and hopefully encourage it to produce fruit more quickly. After this, you can store the grow kit in a slightly cooler place (below room temperature), such as a basement or pantry.
The first part (filling the bucket to the brim, step 2/3) can be done in the dark. Once you've finished filling (step 4), the grow kit can be placed in a room with a day-night rhythm. Use natural light for this, but try to keep the grow kit out of direct sunlight. If you don't have access to natural light, artificial light is also an option.
So, there you are. The grow kit isn't quite full yet, and you have a vacation coming up. No worries. There's a solution for that too. Our advice is to add a generous amount of coffee grounds and then refrigerate it. The cold will slow growth, but it's still enough food for the mycelium to continue growing.
The following guidelines are a bit of a rough guide, but a good guideline: 1 week on vacation: layer of max. 2 cm; 2 weeks on vacation: layer of max. 4 cm; 3 weeks on vacation: layer of max. 6 cm; 4 weeks or longer on vacation: arrange for a sitter for the grow kit. Put a note on the refrigerator to remind you that the grow kit is inside. When you get home, take it out quickly and have another coffee. Have a great vacation!
Green mold—officially called trichoderma—is often a sign of coffee grounds that are too dry. For the fungus to grow, the coffee grounds must contain sufficient moisture. Trichoderma grows faster on dry coffee grounds, so make sure your coffee grounds have the right moisture. Are your coffee grounds the color of dark chocolate? Then you're good. Are they light brown? Then add some water. Not sure about your coffee grounds? In this video tutorial, Siemen explains what they should look like.
What to do if you have green mold? Scoop it away with a spoon and then simply continue filling. If the green mold gets too much, restart your grow kit with new spawn . New round, new chances to grow delicious mushrooms! Unfortunately, some coffee varieties are more susceptible to green mold infection.
That brown stuff is enzyme activity from the mycelium. It's not orange mold, and it's nothing to worry about. It's part of a healthy grow kit. Are you restarting the grow kit? Use the brightest white bits of mycelium you can find on your grow kit. You don't need to carry that brown stuff over to the next round, so you can cut it off.
These flies are actually called Fungus gnats and look very similar to fruit flies. Fungus gnats love the smell of mycelium and like to lay their eggs in it. It's important to keep the tape firmly in place so the flies can't access the grow kit. If this does happen, you can recognize it by a bare piece of mycelium, which has been eaten away by the Fungus gnats. You can cut away a piece the size of a small coffee cup around this point and then continue where you left off.
An unpleasant odor is likely caused by overly wet coffee grounds. These should be a pure chocolate brown color, not too dark. If they are, it's advisable to add dry coffee grounds to reduce the water-to-coffee-grounds ratio.
For some people, it goes faster than for others. Some people drink more coffee than others, for example. On average, countertop growers take 4 to 6 weeks to fill their grow kit. The temperature in your home can also speed up or slow down the process. If the grow kit is slightly below room temperature while filling, it will go a bit slower than if it were at room temperature (18 to 22 degrees Celsius). If the grow kit has a nice white growth pattern and you add the coffee grounds in time (when you still see a little brown), you're doing great. So keep up the good work!
Sometimes strange shapes appear in a grow kit, resembling spaghetti. There are two possible causes for this.
- If you have these strands inside your grow kit: You waited too long to add new coffee. See the next point on this list.
- If you have these strands outside your grow kit: There isn't enough light for the mushrooms. They're probably in a space that's too dark. Because there's no light, no cap will form. Solution: Remove the "spaghetti strands" and re-water the grow kit until it's full. Then, provide a spot with plenty of light.
If the mycelium doesn't get enough nutrients, it panics and starts producing fruit. What you can do now is cut the mushrooms out of the bucket. Then you can add a new layer of moist coffee grounds. Hopefully, the mushrooms will start growing again. You can repeat this until you've filled the grow kit to the brim.
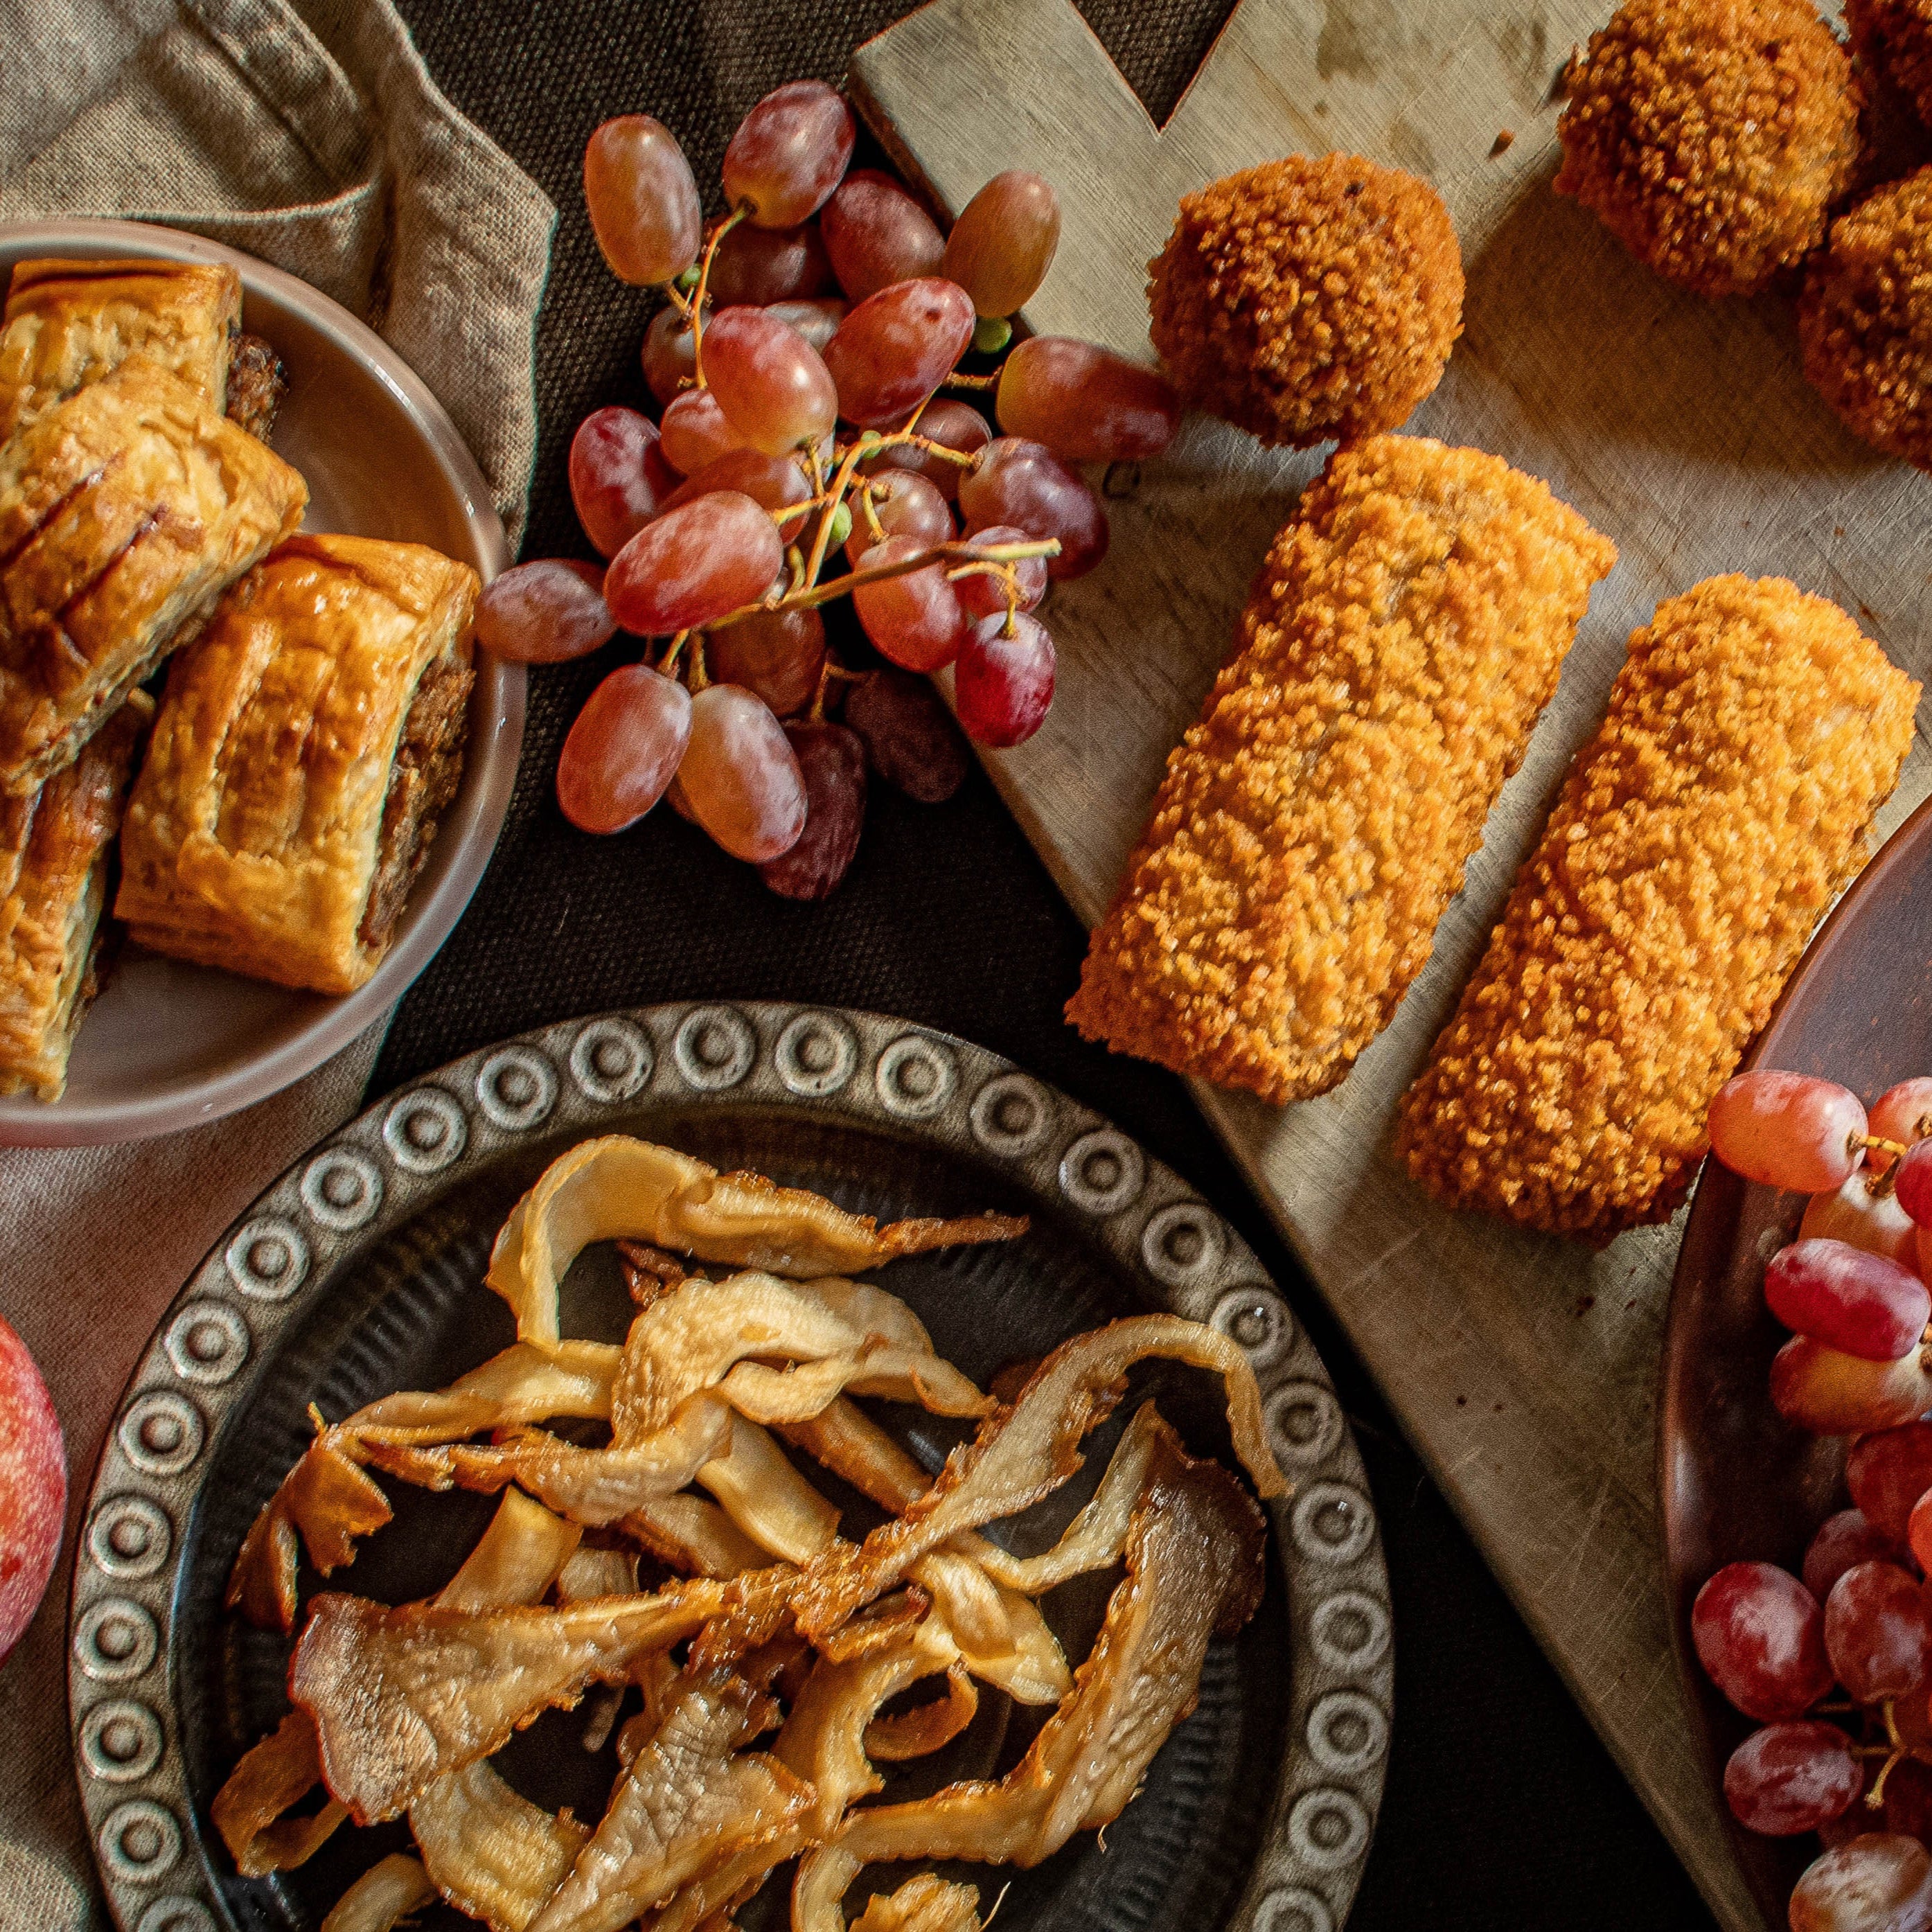
Are your mushrooms drying out after they're removed from your grow kit? Check if the grow kit is in an environment that's too warm and too dry. This will deprive the developing mushrooms of oxygen. Once the grow kit is completely filled to the brim with coffee grounds, it should be placed in an unheated room (with a day/night cycle). Don't throw away your dried mushrooms. If you soak them in water, you can then use them in your pasta, risotto, or soup.
It's better to harvest oyster mushrooms too early than too late. There's no universally accepted harvesting time, as it depends on many factors. In an environment with very dry air (often indoors during the winter), the mushrooms dry out quickly. If the cap is horizontal, you should have harvested them by now. In that case, remove the mushrooms from the grow kit quickly to prevent further dehydration.
Mushrooms are somewhat stubborn; they choose their own exit route. They might emerge either from the top or the side. However, this isn't a must; some lucky ones see their harvest appear on both sides. It's possible that the mushrooms will choose the other exit for the second harvest.
The expiration date indicates whether the spawn is very fresh or a bit older. The fresher the spawn, the stronger the mycelium and the better it will start. Expiration of the spawn doesn't mean it's dead or spoiled. It can still be active for months and therefore start a grow kit.
One thing to keep in mind is that the risk of infection increases as the spawn becomes older and therefore weaker. As soon as there's green mold in the expired bag, you can cut it out and use it. In that case, be especially careful not to start adding new coffee grounds too soon, but give the mold some extra time to properly grow through the first coffee grounds.
Unfortunately, the number of holes in the grow kit has nothing to do with the yield. The holes on both the sides and top of the grow kit ensure the fungus has sufficient oxygen. If you want a higher yield, you could try growing on a large scale in grow bags. This is a bit more complicated than growing in a grow kit, but you can learn! We'll tell you all about it during our workshop or in the e-learning module .